![]() Spaced Symbols
Spaced Symbols
|
|
Top Previous Next |
|
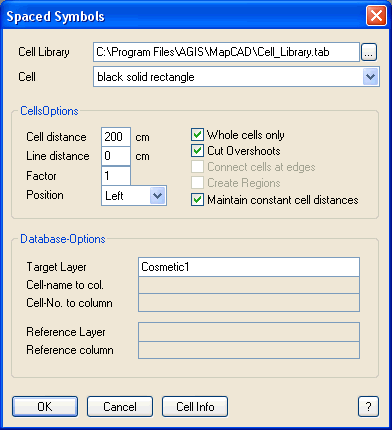
Creating spaced symbols along lines Using this function you can create new line types using "Spaced Symbols" stored in the cell library. This is applicable to lines, polylines and regions.
Cell distance: Distance between cells. Line distance: Distance between cells and line. Factor: Factor for the cell size. Position: Cell position in relation to the line direction (left, right or centered).
Whole symbols only: Only whole symbols are supposed be created. Cut overshoots: Cuts symbols overlapping the line or at polyline nodes. Connect symbols at edges: Symbols that have the same Y-coordinate at the start and end point will be joined. Create regions: The spaced symbols shall build a region (only available when the option "connect symbols at edges" is selected). Maintain constant cell distances when crossing nodes: By default, a cell symbol is placed at the beginning of every segment of a polyline, regardless of the distance to the previous cell symbol. If the original polyline or polygon consists of many relatively short segments, the distances between the spaced cell symbols can look very unregular. For this reason in GeoAS MapCAD 4.6 this function was supplemented with the "maintain constant cell distances when crossing nodes" option. The cell distance is then maintained even when a new polyline segment begins between the cells.
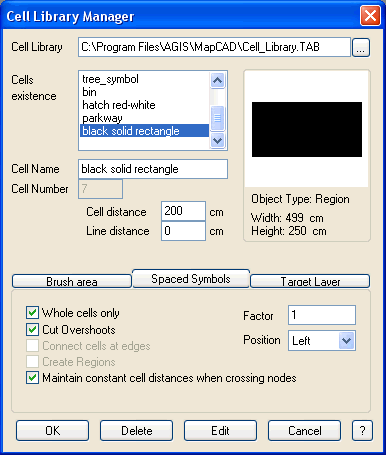
You can attach the cell name, the cell number and a reference object’s primary key to your cell object in the "Database-Options" area, as long as a fix target layer has been assigned to the cell in the cell library manager. Thereto enter the layer and column names to the corresponding fields. The new attributes "Reference layer" and "Reference column" can be assigned to a cell via the cell library manger. This information is optional. The primary key will be taken from the reference column and written in the homonymous column of the target layer. Once this way set cells can always be linked to a reference object via key.
Example: Select a line or an area (region):
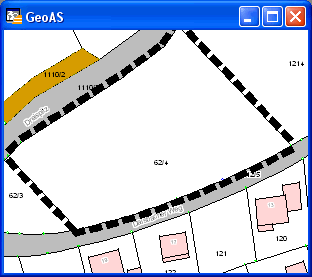
Choose your settings as explained above and press OK:
(based on the entries of the cell manager)
|